The 14 day time-lapse – in at the deep end!
I haven’t really been caught up in the whole time-lapse movement which has become increasingly popular with the introduction of DSLR’s into the video world, it’s not really something that’s ever interested me that much before although I’m not entirely sure why after all I have a passion for slow-mo footage so why not manipulate time in the other direction?
With this in mind when I was asked to do a 14 day time-lapse for Harley-Davidson showing the setup of one of their European motorcycle events I had to learn, and quickly because the shoot had to start in just five days!
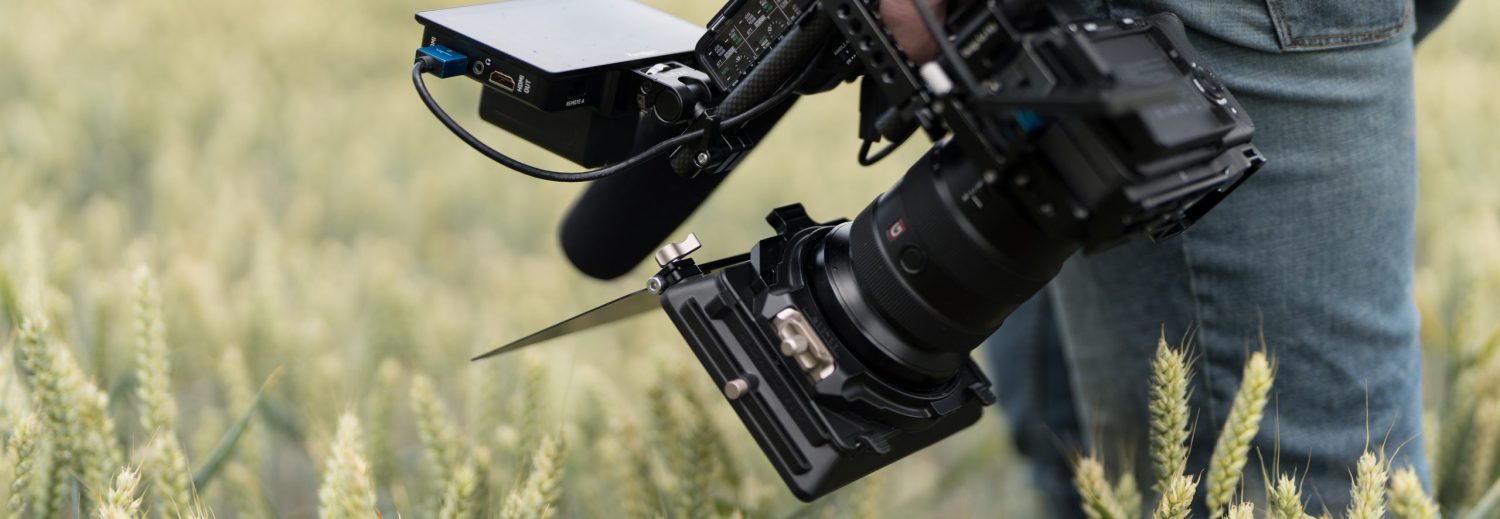
The request had quite a few challenges, firstly there was no network on site during the setup so all of the images would need to be stored on the cameras memory cards, secondly the camera was going to be positioned outside atop a 10m lamp post and open to the elements so it had to be waterproof. There was also the issue of power, no camera that I know of can last 14 days so we would need to rig up mains power. The final and probably most troublesome challenge was that I couldn’t stay with the camera, I had to leave it for ten days before returning to film the event.
My first thought was to use a GoPro but with no experience of leaving one running for that long and no way to run it on mains power within it’s protective shell I had to look elsewhere.
My next thought was to use an exterior security camera as these would be designed for life outside. I actually ordered a high-end Sony security camera that sounded like it was going to be perfect, it could record HD video as well as stills at certain intervals and featured an Exmor sensor as used in the EX1 so I thought the images would cut well with the rest of my footage. The Sony also featured the ability to be powered via a network cable which I thought could make things simpler, saving the need to run mains power to the top of the lamp post. The camera was not cheap costing nearly £1,500.

Once the Sony camera was delivered however it soon became obvious that it wasn’t the right solution, it was designed to be hard mounted to a wall and would require a lot of work to make a suitable mounting solution that kept it waterproof. The power over cat5 lead also turned out to be pointless as running the camera that way didn’t support the use of the cf card. The supplier also mentioned that they were not confident that it would record images reliably enough for a time-lapse. I couldn’t take the risk and returned it.
With time running out I reverted to the GoPro and set about adapting it to be mains powered whilst still being waterproof. GoPro do actually make a skeleton case that allows power to be delivered to the side camera but with only two days before flying out to Austria to setup I didn’t have time to order one so I had to adapt what I already had.

The thing about the GoPro is that the only way to power it is via a USB lead. The good news is that a simple iPhone power supply does a fantastic job of providing the required power for the GoPro. I decided to attach the GoPro Battery BacPac to the camera as this allowed the power to be connected on the back rather then the side so all I needed to do was find a way to get a USB lead through the back of the case and protect it from the elements.
A few minutes with a dremel and a bit of creative bodging with insulation tape and a washing up glove soon resulted in my very unimpressive looking endurance GoPro! I could have sealed the cable in place but I wanted the camera to have airflow around it to avoid any fogging issues.
Ugly isn’t it!

For my own sanity I left this camera doing a time-lapse for the two days before flying out to Austria, it did this well and worked reliably, I decided on shooting a still every 60 seconds as this resulted in enough images to make the sky look fairly fluid as well as making the 32GB memory cards last as long as possible. By my calculations each 32GB card should last around 10 days so a card change would still be required.
On getting to the location in Austria the challenges didn’t stop. H-D had supplied a cherry picker to allow me to mount the camera but it soon became obvious that the light pole that had been earmarked for the camera meant that the GoPro would be facing the Sun all day and as a result the images produced would be less than ideal quality. I really needed to camera to be the other side of the event ground but we didn’t have any mounting options that side.

After much consideration we decided to mount the camera to the cherry picker itself, that way we could position it where we wanted, send it up to it’s maximum height and easily lower it for card changes and the occasional check. Power was delivered from a nearby lamp post and the iPhone charger and associated adapters were all smothered in insulation tape.

The results were much better with the sun now behind the camera and the view across the event location was fabulous. I left instructions about changing the card and how to check that the camera was working and flew home with fingers crossed that it all worked out.

I’ll post more about how it went in the next few days once I’ve had chance to process the results. There were a few lessons to be learned that I’ll share with you, some camera related and some not but all good points to consider if you have to do something similar.
Paul.


Jo,
I was doeing some timelaps shots with my gopro black. But ren in to an issue:
The frame is not what i want it to be. i want it to be 16/9..
I did some googeling and the only results that i got where:
Try this expensive go pro program
or
Crop off some footage.
What was your solution?
ps, Dope video!!
Groeten uit Nederland
Arne