Using markers as visual sync guides in FCPX
provider:    youtube
url:         https://www.youtube.com/embed/pN0RDUhjTyE

src:         https://www.youtube-nocookie.com/embed/pN0RDUhjTyE?feature=oembed&wmode=opaque
src mod:     https://www.youtube-nocookie.com/embed/pN0RDUhjTyE?wmode=opaque
src gen:     https://www.youtube-nocookie.com/embed/pN0RDUhjTyE
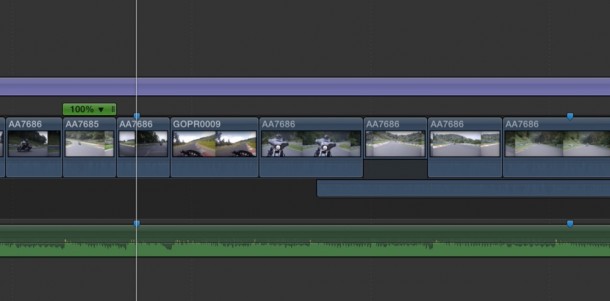
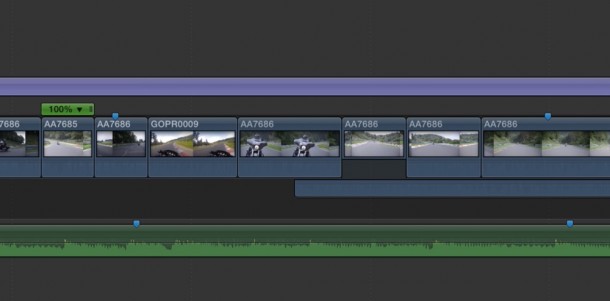
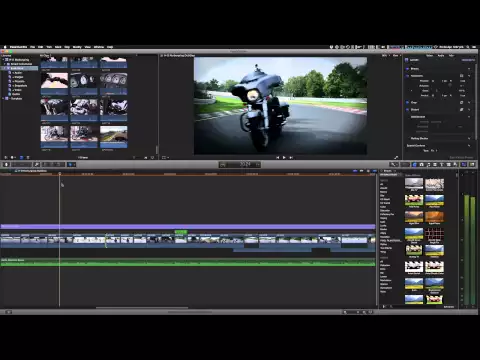
here’s a quick tutorial showing how I use markers in FCPX to give me a visual indicator in case any audio syncing issues crop up due to a mistake using the magnetic timeline.
Although the magnetic timeline offers many advantages when editing, I find that it’s very easy to inadvertently trim a clip without realising you’ve done it and as a result have all of the clips later in the timeline jump out of sync with a music track that is attached near the beginning of the project.

As each section of my projects start to become tuned to the beats in the music I drop in pairs of markers so that any future changes in sync are more obvious. The markers are dropped in place by selecting the target clip, moving the pointer to the desired location and then pressing the ‘m’ key if using the standard keyboard commands.

Quite often I notice these markers have moved out of alignment even before I notice any sync issues so it provides a good alert system as well as giving a visual clue as to where any unwanted changes have been made in the edit.


