Trying out the DJI Ronin-M
I recently had the opportunity to do some shooting with a DJI Ronin M stabiliser system and thought I’d share my experiences with the device. I don’t really want to call this a review as my time with the Ronin was quite limited due to work commitments so it’s more about initial thoughts. I’ve owned and operated some small Steadicam units in the past and while I did get to grips with my Steadicam Pilot to a degree I barely used it due to the hassle involved with transporting it, setting it up and maintaining a sufficient skill level to get great results.
I received the Ronin-M just before leaving for shoot for Harley-Davidson in Austria so decided to drop straight in to the deep and end try using it on the shoot without any practise. The only thing I did before packing for the trip was to unbox it and check I could mount my Canon C100.


The nicely designed box seemed to want me to read the manual before proceeding, I’m afraid I didn’t oblige and opted to use my manly construction instincts instead!


Once down to the next layer things look a lot more fun. If I’d actually read the manual I would have realised sooner than the big item on top was not actually part of the Ronin itself but rather a clever fold out stand.


Looking at the remaining contents i couldn’t help being reminded of the Mechano set I opened on Christmas day when I was eight years old. The gimbal assembly itself actually folds down fairly flat which is much better for travelling than the huge case my steadicam required.


Building the handle was straightforward, a centre handle is attached to the top of the gimbal and secured with a locking lever. Carbon rods then attach to each side of the centre handle and the whole thing can be positioned on the fold out stand.

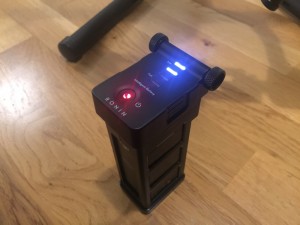
The supplied Li-Po battery attaches to the back of the gimbal and secures with two locking knobs. Much like DJI’s quadcopter batteries, the Li-Po on the Ronin-M is charged with a supplied charger and indicates current charge level when the power button is pressed.


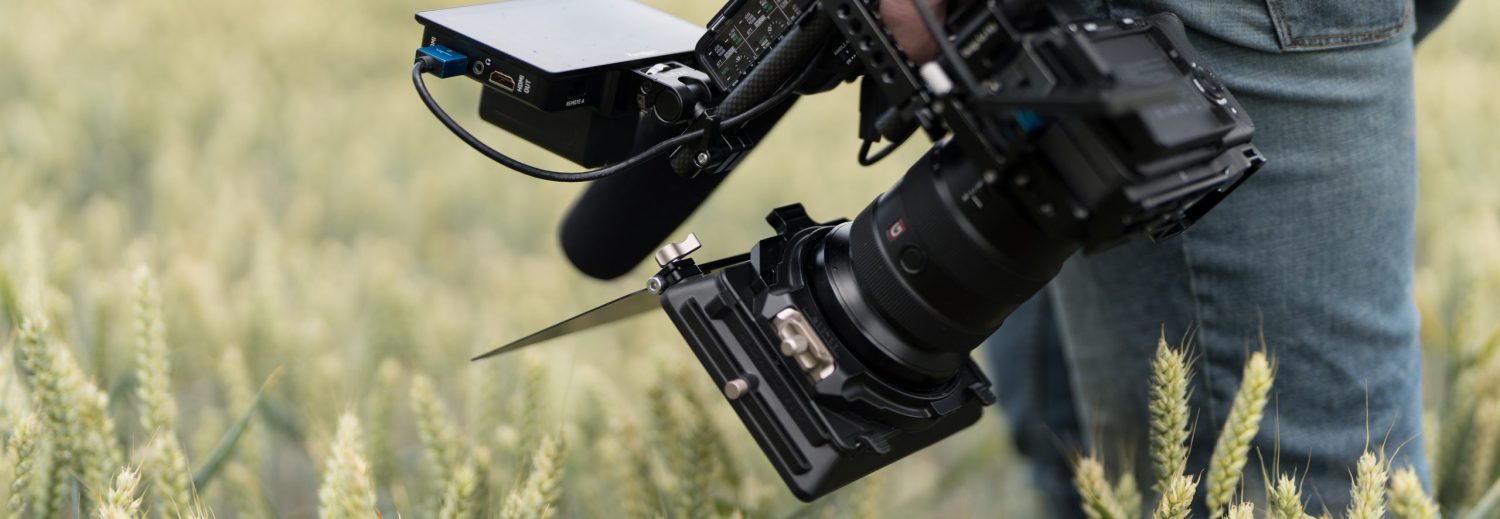
The Ronin-M is supplied with a mounting plate along with various bolts and a couple of allen keys. Fitting this to my C100 was easy and I was able to secure it with two bolts.


With the camera mounted I finally gave in and referred to the manual for advice on how to balance the camera. Sliding the camera plate forward and backwards in the reciever adjusts the forward pitch balance and side to side tilting is balanced by sliding the receiver unit left and right on their rods. I found I had to remove the side handle from the C100 and lower the mounting bar fully in order to make the camera balance correctly.
There’s one further adjustment to make which moves the whole gimbal forwards and backwards in relation to the top handle, this is done with an adjuster wheel and locking clamp built in to the top of the gimbal unit. Getting everything to roughly balance only took a few minutes which is a world away from working with a steadicam, I remember spending days trying to balance my Steadicam and I’m still not sure I fully achieved it.
With the camera balanced I switched on the Ronin-M, I was half expecting it to start testing all the axis like my Inspire 1 does but none of that here, you just feel all the motors suddenly go tense and the device is ready to go.
With that I switched it off, packed it in to a peli case and flew out to Austria. I’m sure I should have gone through some kind of calibration and fine tuning process but it seemed to work well enough out of the box so I just left it all default.
I used the Ronin a few times whilst at the event and what impressed me the most was how easy it was to use. For the most part the gimbal tries to remove any unwanted movement you apply to the camera but if you do want it to pan or tilt it does a good job of recognising what you want to do and follows accordingly. I found the seemed to work slightly better for side to side panning than tilting up and down but I’m sure the sensitivity can be adjusted if desired.

I opted to keep things really simple and used the screen on the back of the C100 to monitor the shots. I could have mounted an additional HDMI monitor to the top handle if using it more but for this job ease of setup was the key.

One slight problem I did run in to was that the Ronin-M seemed to develop a droop to the right over time. When initially switched on the camera would be perfectly level but as I started to use it the level somehow seemed to drift off as can be seen in the shot below (0:38 in the video). I actually left that one in the edit as I liked it anyway.

I fired up the DJI assistant app on my iPhone which allows adjustments to be made to the Ronin vie Bluetooth and found that I could bring the camera level again but it still continued to drift off again once levelled.
I found that lifting the Ronin-M could produce fairly convincing jib type shots, one example is the shot where I was standing in the audience below (1:00 in the video).

If I’d had more time with the Ronin I would have looked in to this issue further but I highly suspect it’s due to me not doing any form of calibration. If you’re familiar with the Ronin then please feel free to leave a comment and tell me what I missed.
I really enjoyed the time I spent with the Ronin-M. Unlike the Steadicam I’ve used in the past it’s very portable and easy to setup on location. Much like a Steadicam it can be a bit of a hassle putting the thing down as it really needs to be placed on it’s stand when not being held.
If I buy one I may even have a go at using it on a Harley instead of doing my reverse shots like this!

I’ve highlighted the Ronin-M shots in the video below to give some examples of where I used it. I’m sure it would have been perfect for that closing shot of the harley’s pulling away down the road as well but that was actually me holding my Phantom 3 out of a car’s sunroof!
Pricing wise I think the Ronin-M offers good value. If buying in the US the I’d highly recommend buying from B&H, they currently retail the Ronin at $1,399. Click here to find out more.
For other countries where shipping costs increase it may be cheaper to buy direct from DJI.
Here’s the video…
As always, any questions or comments are welcomed.
Paul


Hi Paul
Are you still using the Ronin M or have to changed kit?
Cheers
Bip
Hi Bip. No I had the Ronin on demo for a while. I’m now using a Pilotfly H2 for gimbal work, I’ll be posting a review of that soon.
Hi Paul,
interesting review. I’ve thought of getting one of these and was impressed with your ability to successfully assemble it without recourse to the instructions.
The shots you got with it looked fine but I wonder if the DJI OSMO might do a good enough job without so much hassle. Sounds like you were using your phantom in the same way that someone would use an OSMO.
thanks
Mark
Hi Mark.
Yes I do plan on trying the Osmo soon but my guess will be that the standard camera will struggle in low light a lot more than the C100. For riding shots etc it could be really useful though! The bigger thought though is how it will perform with the X5 camera, which has a lot more potential! How are you getting on with yours?